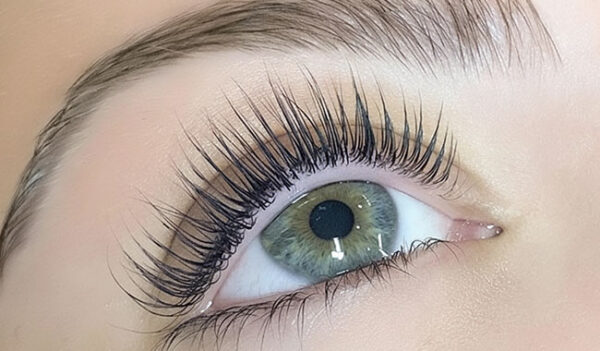
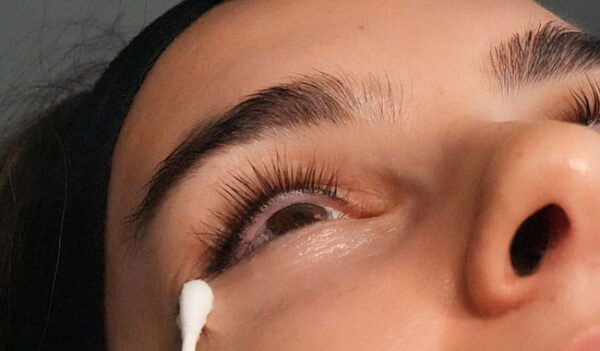
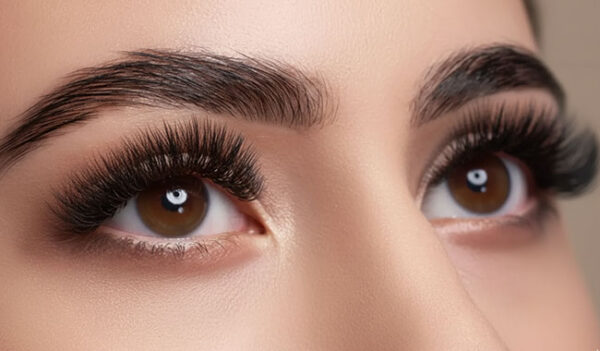
What Is a Lash Lift and Tint? Here’s the Real Scoop
What Is a Lash Lift and Tint? Benefits, Process & Results If you’re one of...
Read More 
Precise Steps, Perfect Lift
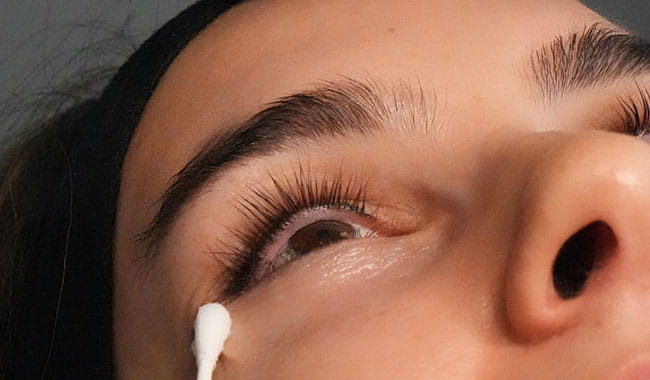
A lash lift looks simple from the outside – client lies back, you apply a few solutions, 45-60 minutes later they have curled, lifted natural lashes. But the difference between an average lash lift and a genuinely great one comes down to technique precision at every single step.
This guide walks through the process professionals actually follow, along with the mistakes that most commonly cause uneven or short-lived results.
Using authentic, professionally sourced supplies matters more here than almost anywhere else in the process – inconsistent solutions are the single biggest cause of the problems covered further down.
Remove all traces of makeup, oil, and mascara from the lashes using an oil-free cleanser. Any residue left on the lash creates a barrier that stops the lifting solution from penetrating evenly – this is one of the most common reasons for patchy, uneven lifts.
Let the lashes fully air-dry before moving on. Applying solution to even slightly damp lashes dilutes it and affects processing time.
This is the step most likely to go wrong for newer technicians. The shield size should match the client’s natural lash length – too large a shield over-stretches shorter lashes and can cause an unnatural, overly dramatic curl; too small a shield under-lifts longer lashes.
As a general guide, smaller shields suit lashes under 8mm, mid-sized shields work well for 8-11mm lashes, and larger shields suit lashes over 11mm. Always assess the client’s natural lash length individually rather than relying on eye shape or size alone.
Secure the shield to the eyelid with tape, positioned close to the lash line without touching the skin of the eyelid itself.
Using a micro brush, comb the lashes up and adhere them evenly along the shield using lash lift glue. Isolation matters – lashes that are clumped together or crossed will lift unevenly, and this is very hard to correct once you’re past Step 4.
Take your time here. Most technique-related lash lift complaints trace back to rushed isolation, not the product itself.
Apply an even, thin layer of the lifting solution, avoiding the skin and lash roots. Processing typically takes 6–10 minutes, depending on lash coarseness and shield size – finer or previously chemically treated lashes process faster than thick, virgin lashes.
Check the curl at the halfway point on fine or previously-treated lashes, since they process faster and are more prone to over-processing.
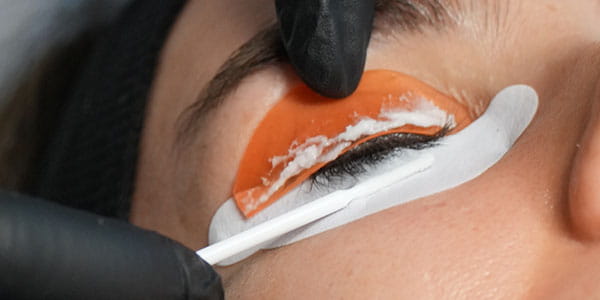
Once processing time is complete, gently remove the lifting solution with a damp micro brush – don’t rinse aggressively, as this can disturb the shape being set. Apply the setting solution evenly and let it process for a similar duration, typically 6–10 minutes.
This step is what locks the curl into place. Skipping or rushing it is the most common cause of a lift that relaxes within days instead of lasting the expected 6–8 weeks.
Remove the setting solution, then apply the conditioning/nourishing solution. This step doesn’t affect the curl — it restores moisture and protein to the lash after two rounds of chemical processing, which noticeably improves how healthy the lashes look and feel afterward.
Carefully peel the shield away from the lash line, then gently comb lashes into place. If tinting was booked, this is typically done immediately after the lift, before the final comb-through.
| Mistake | Effect | Fix |
|---|---|---|
| Skipping the cleanse step | Uneven, patchy lift | Always double-cleanse before starting |
| Wrong shield size | Over- or under-curled lashes | Match shield to actual lash length, not eye shape |
| Poor isolation | Crossed, clumped lashes | Slow down at Step 3 — this can’t be fixed later |
| Rushed Step 2 processing | Lift relaxes within days | Never shortcut the setting solution’s processing time |
| Using inconsistent or unauthentic solutions | Unpredictable results across clients | Source from an authorized wholesale distributor |
Even a technician with flawless technique will get inconsistent results if the lifting and setting solutions vary from batch to batch. This is one of the main reasons salons doing regular volume move to wholesale lash lift supplies from an authorized distributor – it removes one major variable from an already precise process, so the only thing left to control is your technique.
How long should a full lash lift service take?
Typically 45-60 minutes including consultation and aftercare instructions, though timing varies by lash condition and technician experience.
Can lash lifts be combined with tinting?
Yes, tinting is commonly done immediately after the lift, before the final comb-through, while the lashes are still isolated on the shield or shortly after shield removal.
Why do some clients’ lifts not last as long as others?
Natural lash growth cycle, aftercare compliance (avoiding water, steam, and heat for the first 24–48 hours), and product quality all affect longevity.
Is additional certification needed to offer lash lifts professionally?
Most professional distributors recommend formal training before offering paid lash lift services, both for consistent results and client safety.